Making selections is one of the toughest jobs in the photography industry. It is because a little mistake can ruin the whole picture and push the viewers away. Though Photoshop is loaded with awesome features, it can sometimes be intimidating to apply the method right. While you need to have the best and stunning pictures in hand before uploading them on the portal, it is important to edit them in desperate needs.
Not all the images look good and the reason behind that can be the bad weather, bad background or bad photographer. For the beginners, it is important to understand that any one of these reasons can lead to weird results. So to deal with these, you need to do photo editing to make the images look beautiful and incredible. Since there are a number of options, tools, features and adjustments to make, lasso tool is the most used to bring accurate results. Let’s see the different types of lasso for the selection purpose and produce nice images:
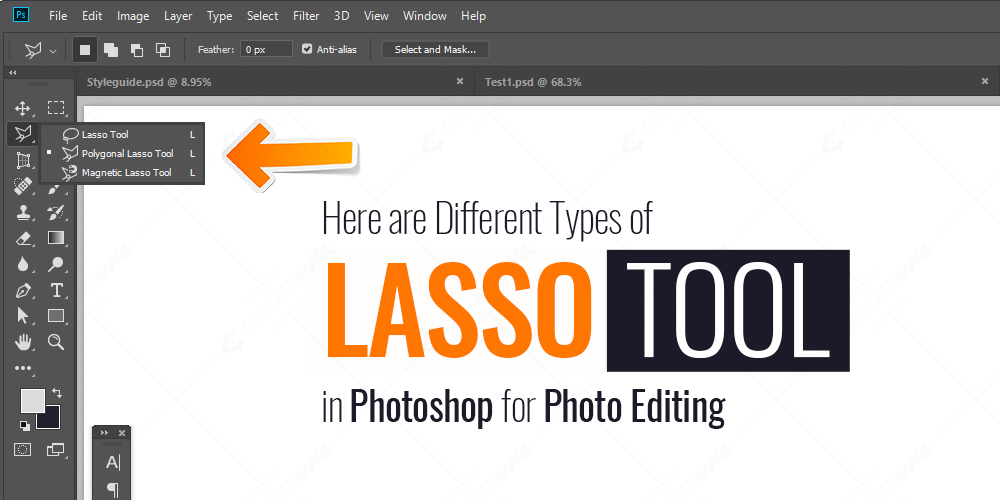
Standard lasso
You can find it in the tools palette in Photoshop. This tool works according to the cursor movement i.e. wherever you go, it follows whether it is a mouse movement or a pen. So the results are never accurate as a little movement gets traced resulting in bad subject selection. I would suggest using this tool when you want to select randomly like clouds or stains etc.
Polygonal lasso
As the name implies, it works with straight lines and corners in the image. If the subject you need to draw selection around has corners and edges, polygonal works best. To make straight lines selections, this tool is the quickest.
Magnetic lasso
To trace the subjects with clear boundaries, magnetic lasso comes in handy. It is the perfect tool which allows you to change the width, frequency and contrast etc. Also, as magnetic lasso automatically works wonders when it comes to draw selection around the boundaries, you can still manage the tool.
Quick Lasso Tips and Tricks
- To make neat selections, hold down the alt key while using standard lasso and it will convert to polygonal lasso tool.
- To add to the selection, hold down the shift key while drawing.
- To subtract from the selection, hold down the alt key.
- If in case, you make a wrong selection, you don’t have to go all the way back to the starting point. Rather you can press Backspace key to undo the last selection and if it is more than one, keep on backspacing to reach the right point.
Once you get an idea of how to use lasso tools in Photoshop to draw the selections, you can then learn the feathering and refine edge options too. Since with the lasso tool you can copy paste the selected object on a new background, it doesn’t look refined. The edges appear quite artificial and the viewer can easily notice that it has been cut out. So to remove those hard edges, there are two options i.e. feather and refine edge. Both these options help in smoothening the edges and when you copy paste the selection, the image blends well with the background.